Thank you! Your submission has been received!
Oops! Something went wrong while submitting the form.
Gretel Blog
Learn more about Synthetic Data from Gretel experts – engineers, data scientists and our AI research team.

Building Synthetic Datasets with Reasoning Traces Using Gretel Navigator
Building Synthetic Datasets with Reasoning Traces Using Gretel Navigator
Incorporating reasoning traces into synthetic datasets enhances AI transparency and trustworthiness.
Navigator
Synthetics
Fine-Tuning
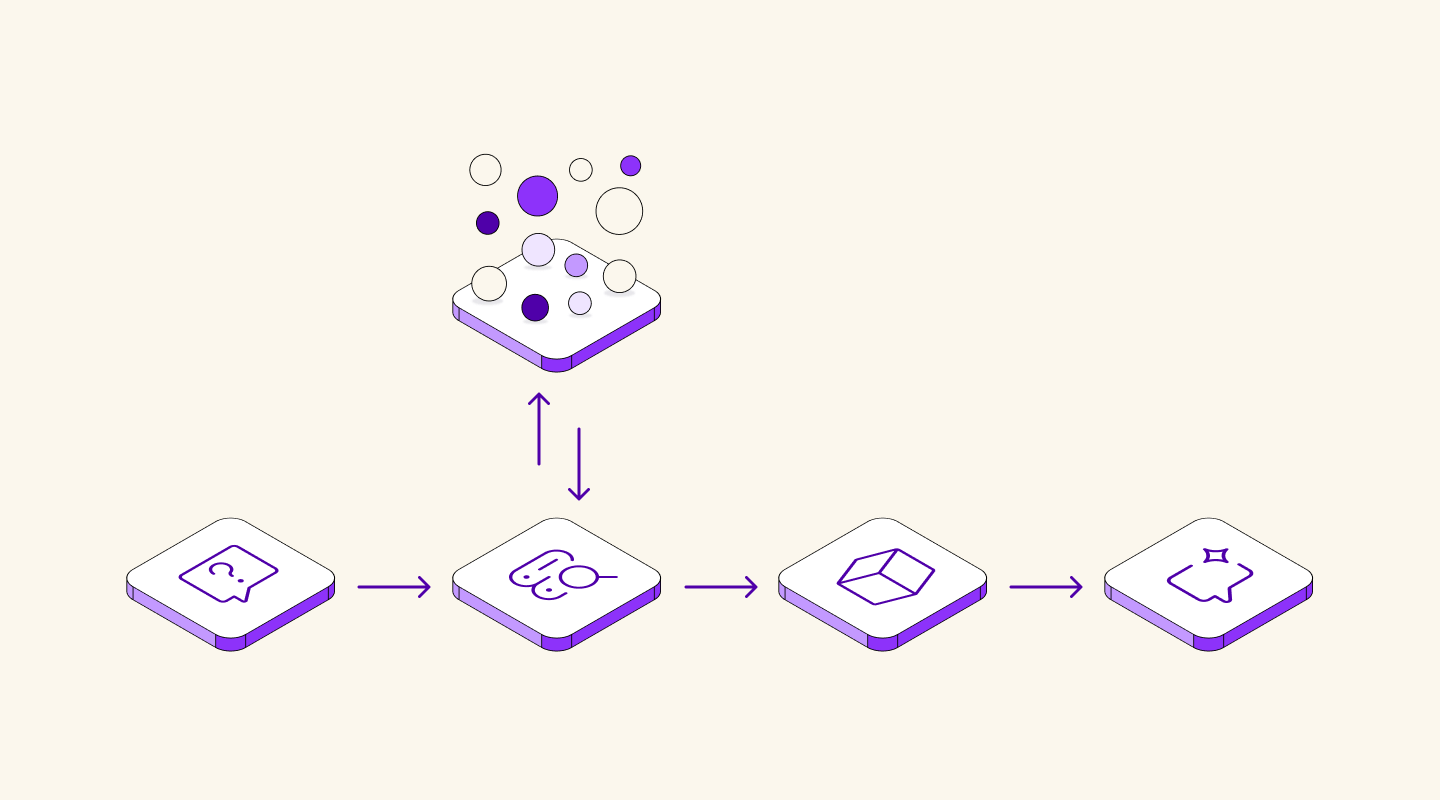
Building a Robust RAG Evaluation Pipeline with Synthetic Data 🚀
Building a Robust RAG Evaluation Pipeline with Synthetic Data 🚀
Building an end-to-end evaluation pipeline for RAG systems using synthetic data generation. Learn more about RAG evaluation.
RAG

Gretel Integrates with Azure AI Foundry Model Catalog
Gretel Integrates with Azure AI Foundry Model Catalog
Gretel integrates with Azure so customers can leverage their compound AI system Navigator for high quality synthetic data generation.
Integrate

Evaluating Synthetic Math Datasets with Inter-Model Variability
Evaluating Synthetic Math Datasets with Inter-Model Variability
Validating synthetic math datasets through inter-model variability and benchmark alignment.
Evaluation
2025: The Year Synthetic Data Goes Mainstream
2025: The Year Synthetic Data Goes Mainstream
How synthetic data is transforming enterprise AI in 2025 by addressing privacy, fine-tuning, and scaling challenges.
Synthetics
Policy
RAG

Building Datasets to Enable Safer AI Responses
Building Datasets to Enable Safer AI Responses
Gretel releases an open synthetic dataset to align language models for safety. Get insights into safety datasets.
Gretel Open
Synthetics

Introducing Model Suites for Synthetic Data Generation
Introducing Model Suites for Synthetic Data Generation
A new standard for ensuring regulatory compliance and managing the complexities of compound AI systems.
Synthetics
.png)
Teaching AI to control computers with Gretel Navigator on Amazon Bedrock
Teaching AI to control computers with Gretel Navigator on Amazon Bedrock
Use Gretel Navigator on Amazon Bedrock to create safe, scalable synthetic data for training AI to understand and execute tool commands.
Company News
Synthetics
Product updates

Accelerating FinTech Innovation with Natural Language to Code
Accelerating FinTech Innovation with Natural Language to Code
Train financial LLMs with Gretel's Synthetic Text-to-Python dataset to transform natural language into precise, domain-specific Python code for FinTech.
Gretel Open
Open Source
Synthetics
Finance
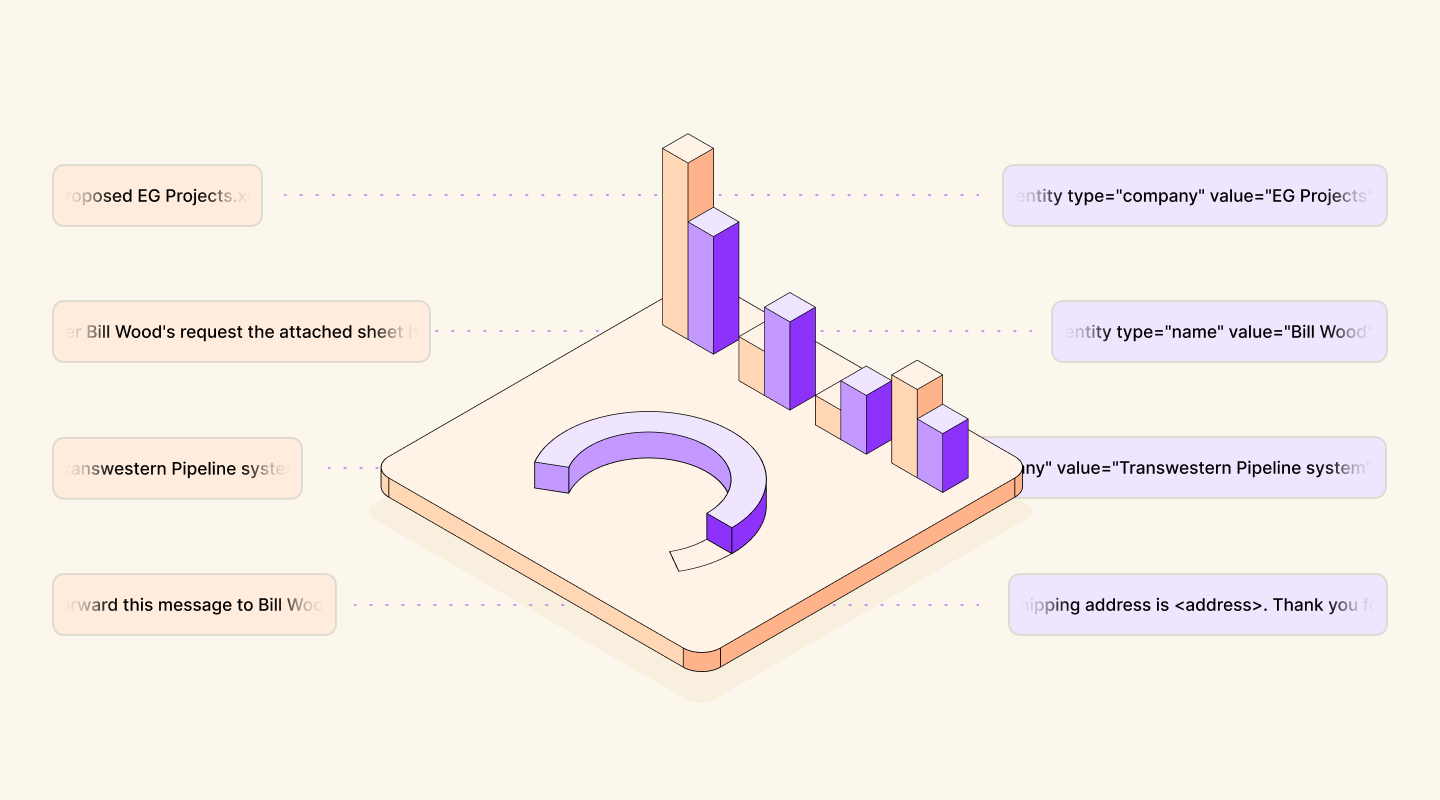
Quantifying PII Exposure in Synthetic Data
Quantifying PII Exposure in Synthetic Data
How to measure and minimize personally identifiable information (PII) risk in synthetic data.
Privacy
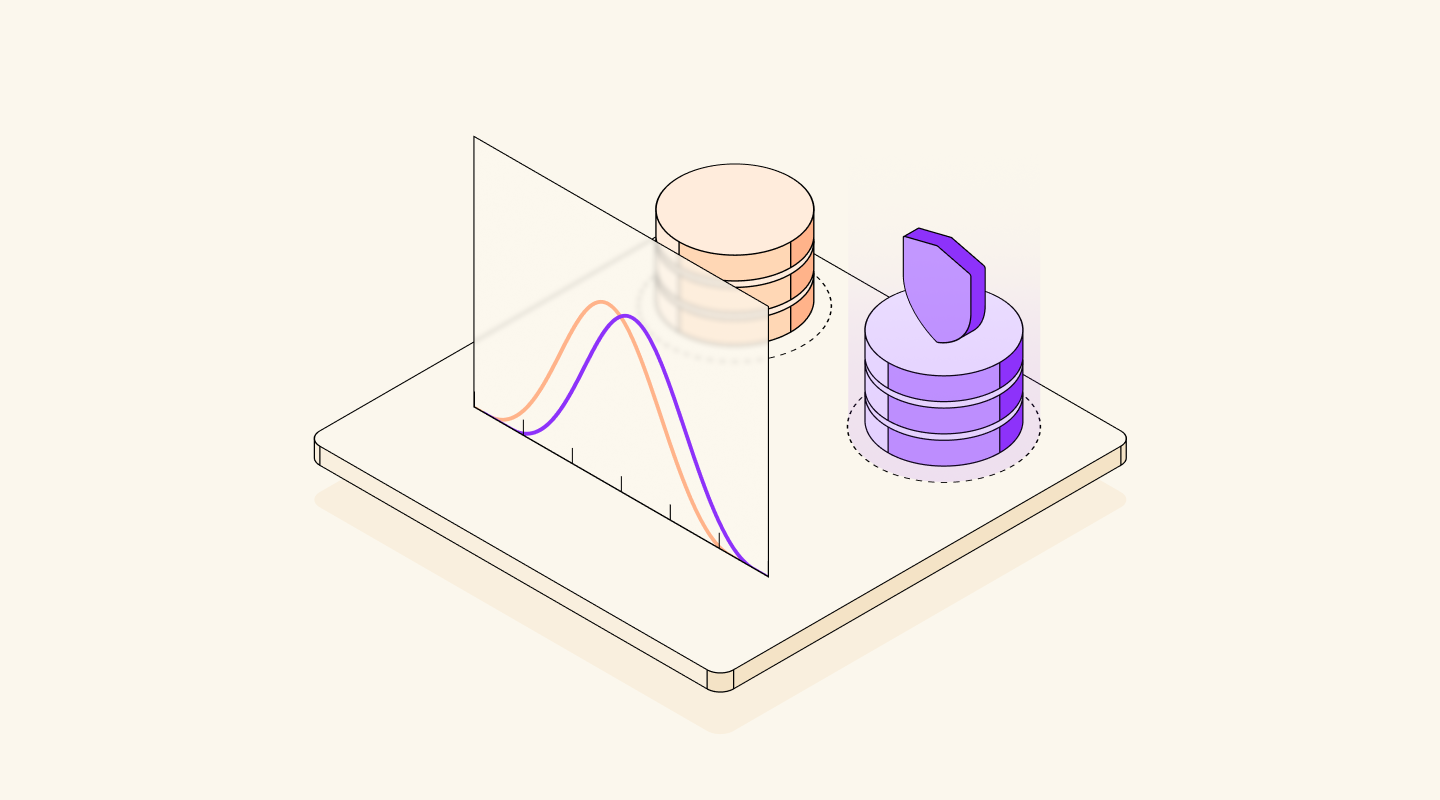
Generate Complex Synthetic Data with Tabular Fine-Tuning + Differential Privacy
Generate Complex Synthetic Data with Tabular Fine-Tuning + Differential Privacy
Learn how to generate secure, high-quality synthetic tabular data using Tabular Fine-Tuning and Differential Privacy tools. 🛡️ 🚀
Differential Privacy
Fine-Tuning

Sample-to-Dataset: Generate Rich Datasets from Limited Samples Using Data Designer
Sample-to-Dataset: Generate Rich Datasets from Limited Samples Using Data Designer
Seed to succeed: use the sample-to-dataset workflow to create diverse, large-scale synthetic datasets tailored to your needs with nothing but a few samples.
Synthetics
No results found.
Try a different search query, or select another topic.